How to sterilize Mason jars wasn’t a question I always asked—at least not in the beginning. Back when I first started storing all kinds of foods at home, from dried herbs to summer peaches in syrup, I was just so proud of the results. Everything looked beautiful on the shelf. But something was missing…
It didn’t take long before I learned that true success in home canning doesn’t stop at sealing the jar—it starts with sterilizing it. That simple step? It’s what keeps your food safe, your jars shelf-stable, and your hard work from going to waste.
Over time, sterilizing became part of my rhythm. Just like choosing the perfect fruit or measuring spices by heart, I now treat sterilization as the secret ingredient in every successful batch. Whether you prefer boiling, baking, or steaming your jars, this guide will walk you through each method—like a trusted friend in the kitchen.
Because once you learn the why, the how just makes sense. Learn more about the versatility of jars in our Mason Jar Guide—a must-read for DIY preservers and storage fans.
In This Article
Why Sterilizing Mason Jars is Non-Negotiable

Importance of Sterilization for Food Safety
Sterilizing glass jars before use is the best way to make sure the food you preserve stays safe to eat. Jars can look clean but still contain harmful microorganisms like bacteria, yeast, or mold. These can cause spoilage—or worse, foodborne illnesses. That’s why heating your jars properly is crucial before adding any hot liquids, sauces, or raw foods.
This step is especially important for low-acid foods such as green beans, meats, or root vegetables. These items don’t kill bacteria naturally and rely entirely on external sanitation measures. For high-acid recipes like jams or vinegar pickles, it’s still good practice—especially when sealing for long-term shelf storage.
Common Contaminants Found in Unsterilized Jars
Unsterilized jars often harbor:
- Airborne mold spores from open air or storage
- Residual sugars or oils stuck in threads or grooves
- Yeast from fermentation or damp dish drying areas
- Bacteria like Clostridium botulinum, which thrives in anaerobic conditions
You can’t see or smell these contaminants until it’s too late. Once food is sealed inside, anything living inside the jar multiplies. That’s why skipping sterilization puts your batch—and your health—at risk.
How Improper Sterilization Leads to Spoilage and Mold
Improper preparation can cause several food quality issues:
- Bulging lids or broken seals: Caused by gas from bacteria
- Discoloration or separation: Food texture and appearance are compromised
- Foul odors: Strong sour or musty smells indicate bacterial growth
- Fuzzy mold or residue: Visible signs of spoilage around lids or in contents
And the most dangerous part? Some bacteria don’t always smell or show making your jars look fine while silently becoming unsafe. That’s why we recommend a proper sterilizing method every time you plan to seal or store anything longer than a few days.
Methods of Sterilizing Mason Jars (With & Without Boiling)

How to Sterilize Mason Jars by Boiling (Water Bath Method)
If you’re wondering how to sterilize mason jars the traditional way, boiling is still the most trusted and USDA-recommended technique. This method works for all types of canning—especially if you’re preserving low-acid foods like vegetables or meats.
Step-by-step:
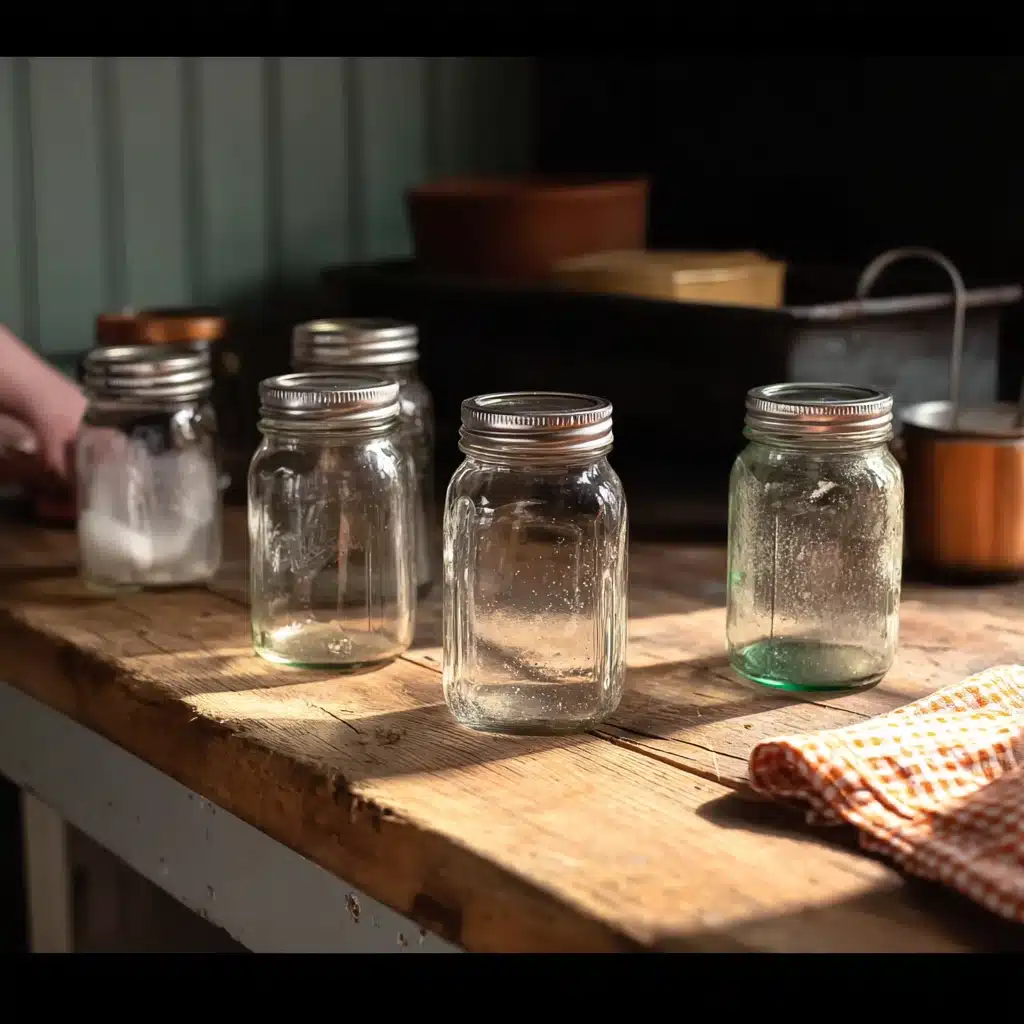
- Wash and rinse jars thoroughly. Even if the jars are new, soap and warm water will remove dust, labels, or residues.
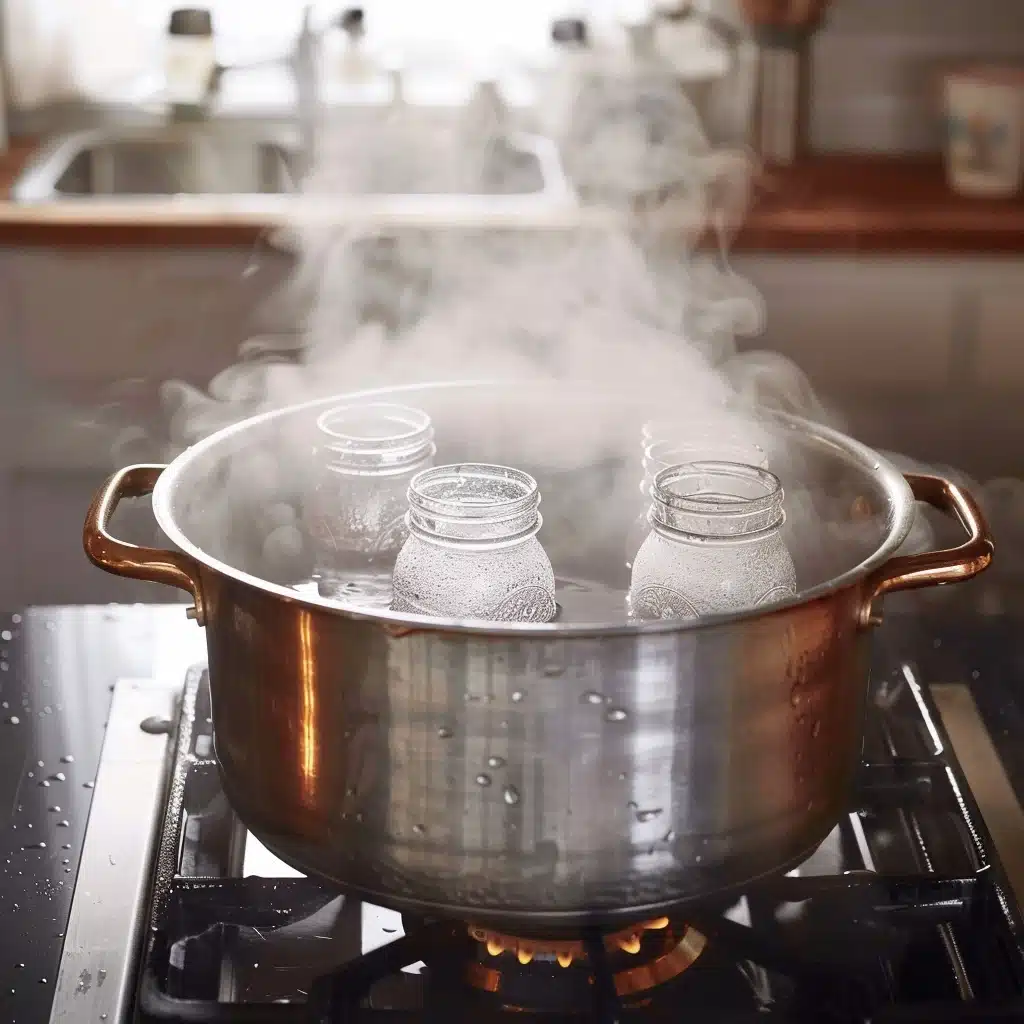
- Place jars in a deep stockpot. Fill the pot with water until the jars are fully submerged—at least one inch of water above the tallest jar.
- Bring the water to a rolling boil. Start your timer only after a full boil begins.
- Boil for 10 minutes at sea level
- Add 1 extra minute for every 1,000 feet above sea level
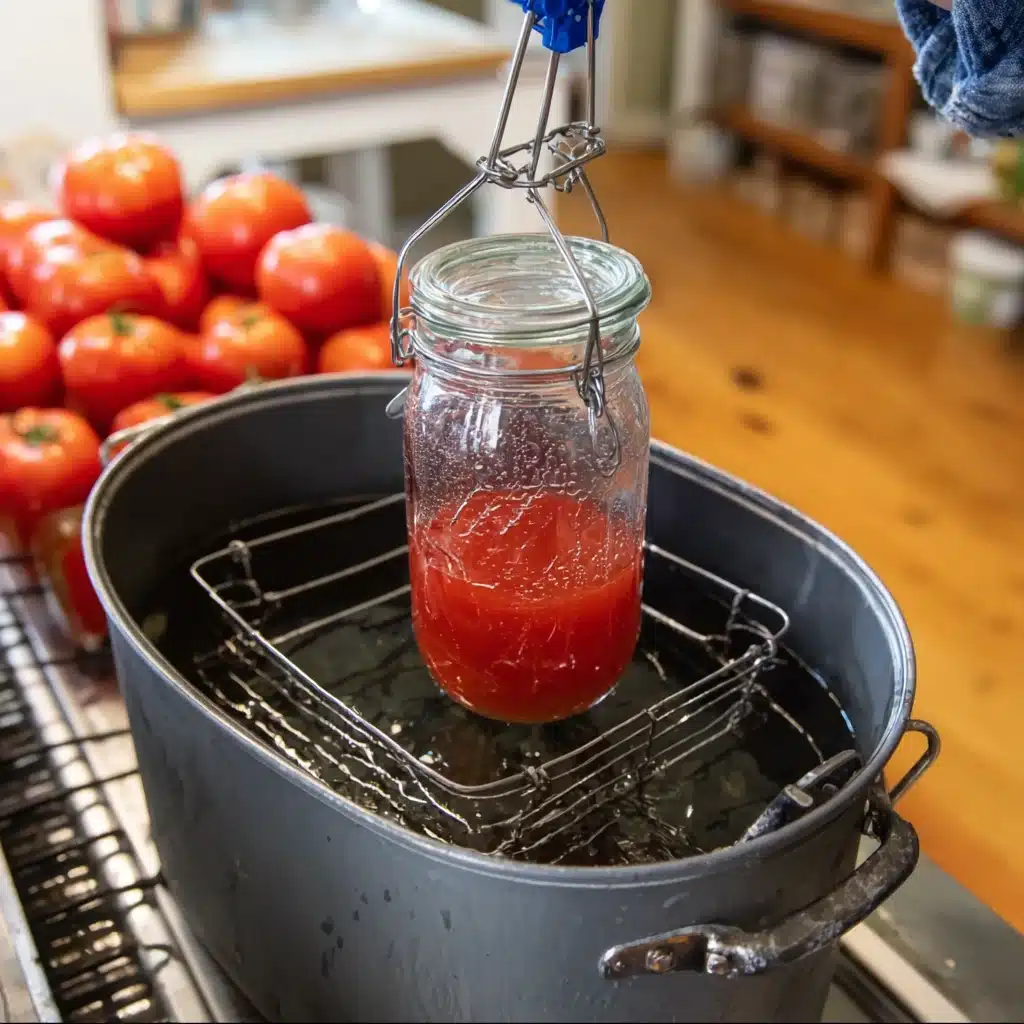
- Remove jars carefully. Use a jar lifter to pull them out without touching the rim. Place them on a clean towel to dry.
If you want a safe, foolproof solution for how to sterilize mason jars at home, boiling is the gold standard.
Why it works:
- Kills bacteria, yeast, and mold
- Safe for long-term food preservation
- Approved for home canning by USDA
When to use it:
Use this method every time you’re canning sauces, jams, salsas, or anything that will be shelf-stored for weeks or months.
How to Sanitize a Mason Jar Without Boiling
Looking for how to sterilize mason jars without boiling? Several modern methods can get the job done efficiently—especially if you’re prepping jars for dry storage or non-canned foods.
1. Oven Method
Sterilizing in the oven is simple, fast, and great when you’re prepping multiple jars for pantry use.
Instructions:
- Preheat oven to 275°F (135°C)
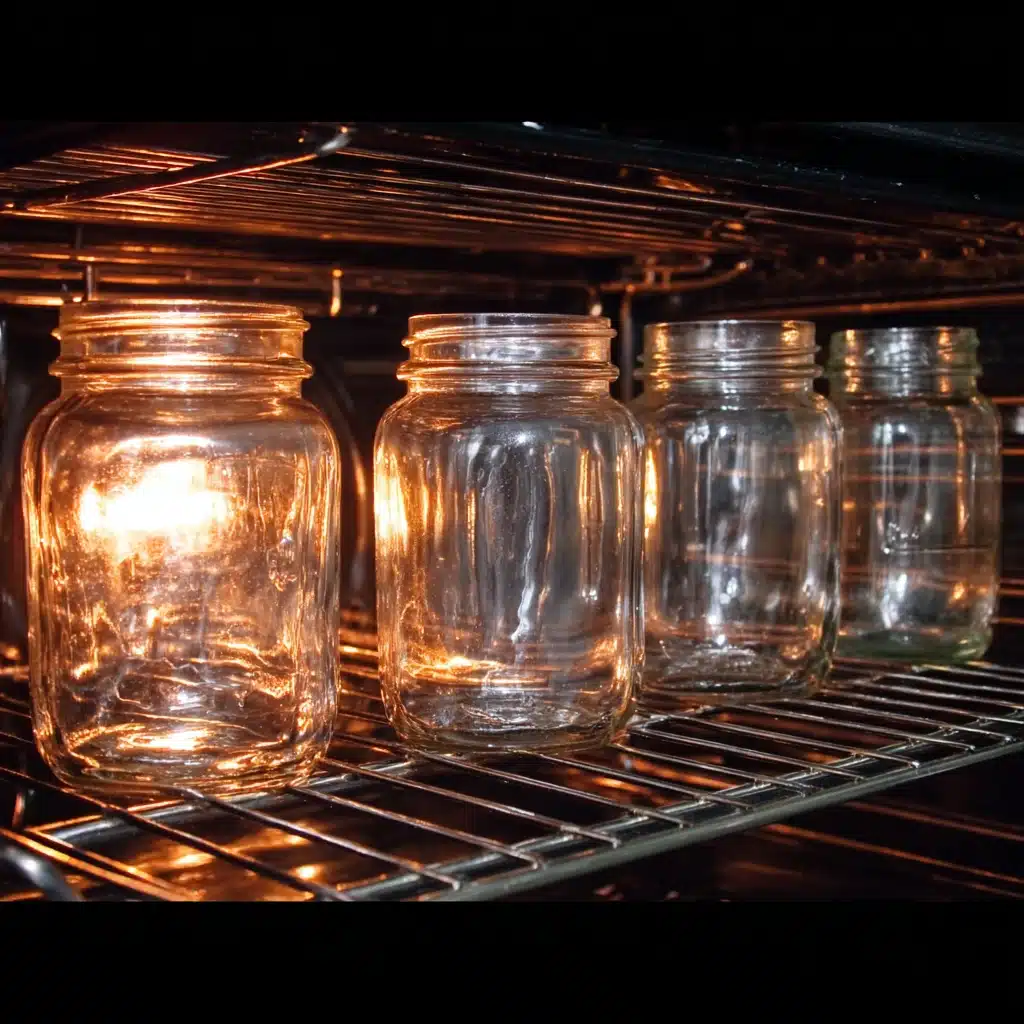
- Set clean jars directly on the oven rack (no lids)
- Heat for 20 minutes, then turn off the oven and let jars cool inside
When to use it:
- Perfect for grains, nuts, and dried foods
- Ideal for DIY gifts or crafts
- Not approved for canning but great for dry goods
If your goal is how to sterilize mason jars quickly for non-canning purposes, the oven method is a solid choice.
2. Dishwasher Sterilization
If your dishwasher includes a sanitize cycle, you can use it to clean jars for immediate use.
Steps:
- Load jars on the top rack
- Run full sanitize or high-heat cycle
- Leave jars inside until you’re ready to fill them
Pros:
- Hands-off and efficient
- Works well for baby food jars or quick fridge storage
Cons:
- Not USDA-approved for food preservation
- Doesn’t clean lids or rubber seals—boil those separately
Need an easy solution for how to sterilize mason jars without extra equipment? Your dishwasher might already have the answer.
3. Steam Sterilization
Steam is another gentle method that disinfects without submerging in water.
Method:
- Place jars in a steam canner or electric sterilizer
- Steam at 212°F for 10–15 minutes
- Allow jars to cool before handling
This is one of the cleanest techniques for those exploring how to sterilize mason jars for fridge storage or light use.
Choosing the Right Method for Your Needs
| Sterilization Method | Best For | Time Required | Food-Safe? |
|---|---|---|---|
| Boiling | Canning, sauces, jams | 10–15 mins | ✅ |
| Oven | Dry storage, crafts | 20 mins | ❌ (not for sealing) |
| Dishwasher | Quick use, short-term storage | 30–45 mins | ❌ (use with caution) |
| Steam | Light disinfecting, small jars | 10–15 mins | ⚠️ (depends on method) |
No matter which method you choose, knowing how to sterilize mason jars properly ensures that your stored food remains safe, tasty, and long-lasting. Each approach has its strengths, depending on what you’re storing and how long you plan to keep it.
Step-by-Step Guide to Boiling Mason Jars

Preparing Your Workspace and Supplies
Before you begin the actual process, let’s get everything in place. Knowing how to sterilize mason jars using the boiling method starts with proper setup. Here’s what you’ll need:
Essential Supplies:
- Wide-mouth or standard mason jars
- Two-piece lids (flats and bands)
- Large deep pot or water bath canner with lid
- Jar lifter or tongs
- Clean dish towels or a drying rack
- Timer or clock
- A heatproof rack or cloth (to place jars on after boiling)
Make sure your jars are free from cracks and chips. Wash all jars and lids with hot, soapy water and rinse thoroughly before sterilizing.
Pro Tip: If you’re sterilizing more than 6 jars, prep a second pot or batch them in rounds to avoid crowding.
How Long to Boil Mason Jars to Sterilize Them
One of the most asked questions is: how long to boil mason jars for full sterilization? It depends slightly on your altitude but here are the general rules:
Standard Boiling Times:
| Altitude | Boiling Time Required |
|---|---|
| 0–1,000 feet | 10 minutes |
| 1,001–3,000 feet | 15 minutes |
| 3,001–6,000 feet | 20 minutes |
| Over 6,000 feet | 25 minutes |
The water must completely cover the jars—by at least 1 inch. Start timing only when a rolling boil begins.
If you’re using the boiling method as part of your canning process, sterilizing jars while heating your filled jars in the canner is often enough for recipes processed longer than 10 minutes. However, for short-process items or cold-fills, pre-sterilizing is a must.
Tips for Lifting and Drying Sterilized Jars Safely
After boiling, it’s crucial to keep the jars sterile until you’re ready to fill them.
Follow these post-sterilization steps carefully:
- Use a jar lifter: Grip jars by the neck or upper body. Never touch the rim or inside with your hands.
- Set on a clean surface: Use a fresh kitchen towel, paper towel, or drying rack.
- Keep upright: Let jars dry and cool naturally. Never place them upside down—this can introduce bacteria from the surface.
- Avoid drafts: Don’t cool jars near open windows or vents. Sudden temperature drops can crack the glass.
If you’re not using them immediately, loosely cover jars with a clean tea towel or keep them in the pot with the lid on to avoid contamination.
Bonus Tip: If using tongs instead of jar lifters, dip them in boiling water for 30 seconds to sterilize before use.
| ✅ Do This | ❌ Avoid This |
|---|---|
| Check jars for cracks | Using chipped or cloudy jars |
| Use a deep pot with a lid | Stacking jars inside the pot |
| Boil water before starting timer | Touching rims or inner walls post-boil |
| Place jars upright to dry | Drying jars with kitchen towels |
Knowing how to sterilize mason jars isn’t just about boiling—it’s also about keeping them sterile after the fact. That’s what separates a properly sealed jar from one that spoils within days.
How to Sterilize Mason Jars in the Oven – Fast & Dry Method

Step-by-Step Instructions for Oven Sterilization
When you’re not canning but still want to clean your jars thoroughly, using the oven is a reliable and efficient method. It works especially well for prepping jars used in dry storage, homemade gifts, or pantry organizing. This technique doesn’t require submerging your jars in water, which can save both time and space.
Follow these simple steps:
- Wash the jars first. Use warm water and dish soap to remove dirt, dust, or residue.
- Dry them completely. Water droplets on glass can cause thermal shock, so ensure the jars are fully dry before heating.
- Place jars upright directly on the oven rack. Give each jar space—avoid letting them touch.
- Heat the oven to 275°F (135°C) and place the jars inside before it reaches temperature.
- Bake for 20 minutes.
- Let the jars cool gradually with the oven door closed for another 5–10 minutes.
You can now fill them with dried foods, herbs, spices, or even use them as containers for homemade crafts.
How Long to Leave Jars in the Oven to Sterilize
The most effective oven sterilization time is 20 minutes at 275°F. That’s hot enough to sanitize, but not so high that it risks damaging the glass.
Here’s a general breakdown:
| Oven Temp | Time | Best For |
|---|---|---|
| 225°F | 30 minutes | Delicate glass |
| 250°F | 25 minutes | Standard dry-use jars |
| 275°F | 20 minutes | Most efficient option |
This method is a great option when you need to know how to sterilize Mason jars quickly without boiling water or using specialty tools.
Oven Safety Tips and Temperature Guidelines
Glass can handle heat well, but the risk of cracking increases with sudden temperature changes. To avoid that:
Do:
- Warm jars gradually with the oven
- Remove them only after they’ve cooled slightly
- Use clean oven mitts or silicone grips when handling hot jars
Don’t:
- Place jars in a preheated oven
- Set hot jars on cold or wet surfaces
- Attempt to sterilize lids or rings this way—they’re not heat-safe at oven temps
Using this dry method is ideal if you’re preparing jars for short-term storage or creative non-food uses. While it’s not suitable for canning, it’s an excellent solution for those learning how to sterilize Mason jars for pantry organization or gift packaging.
Mason Jar Safety Checklist Before and After Sterilization
Knowing how to sterilize Mason jars is only half the battle. To keep them safe for use, you must handle them properly before and after sterilizing. Even a clean jar can become contaminated with one wrong move.
How to Inspect Jars for Cracks, Chips, or Defects
Before you begin, inspect each jar under good lighting:
- Run your finger around the rim to check for chips
- Look for hairline cracks or cloudiness in the glass
- Discard any jar with flaws—heat can make small damage worse
Damaged jars are unsafe for food storage and won’t seal properly during canning.
Do’s and Don’ts for Handling Sterilized Mason Jars
After you learn how to sterilize Mason jars using boiling or oven methods, follow these safety tips:
Do:
- Use jar lifters or tongs to avoid touching rims
- Place sterilized jars on clean, dry towels
- Cover jars lightly if not using immediately
Don’t:
- Stack jars or set them upside down
- Use towels that may shed lint or dust
- Leave jars open in high-humidity areas
Once you know how to sterilize Mason jars and follow up with proper care, your food will stay fresh and safe far longer.
How to Store Jars After Sterilization to Prevent Recontamination
Sterilized jars should be:
- Filled immediately for best results
- Kept upright and covered if cooling
- Stored in a dry, clean environment until use
If you don’t plan to use the jars right away, reheating them briefly before filling ensures no new bacteria entered during storage. It’s a simple habit that reinforces your efforts in learning how to sterilize Mason jars correctly.
Tools and Accessories to Make Sterilization Easy
Having the right gear simplifies how to sterilize Mason jars and keeps the process safe and efficient.
Must-Have Tools
- Jar lifter: Prevents burns and contamination
- Wide-mouth funnel: Keeps rims clean during filling
- Canning rack: Ensures jars don’t touch the bottom of the pot
- Digital thermometer: Helps monitor sterilization temps
These tools help maintain a clean workflow while you’re learning how to sterilize Mason jars without risking cracked glass or spills.
Recommended Jar Brands for Heat Safety
Choose jars from brands known for durability:
- Ball and Kerr are excellent for boiling methods
- Le Parfait works well for dry oven sterilizing
- Avoid thin or decorative jars not rated for heat
Reliable glass matters when mastering how to sterilize Mason jars for home preservation or long-term food storage.
Using the proper setup is key to perfecting how to sterilize Mason jars efficiently, whether you’re prepping one or a dozen.
FAQs Answered – Mason Jar Sterilization Explained
What is the best way to sterilise Mason jars?
The best method depends on your intended use. For canning or preserving food, boiling the jars in water for 10–15 minutes is the most reliable and USDA-approved approach. If you’re prepping for dry storage or crafts, oven sterilization at 275°F for 20 minutes works well. No matter the method, the key to how to sterilize Mason jars is ensuring high, sustained heat and clean handling afterward.
How do you sanitize a mason jar without boiling it?
You can use the oven, a dishwasher with a sanitize setting, or steam. Place clean, dry jars in a preheated oven at 275°F for 20 minutes. Let them cool inside the oven before removing. This is a great alternative if you’re looking for how to sterilize Mason jars without needing to submerge them in water.
How long do I boil Mason jars to sterilize them?
Boil clean jars for 10 minutes at sea level, adjusting by adding one extra minute for every 1,000 feet in elevation. For example, at 3,000 feet, boil for 13 minutes. Timing starts once the water reaches a full rolling boil. This boiling method is essential when learning how to sterilize Mason jars safely for canning.
How long to leave jars in the oven to sterilize?
Preheat your oven to 275°F and leave jars inside for 20 minutes. Allow them to cool gradually with the oven door slightly open. This is ideal for pantry use, not canning. If you’re exploring alternative methods on how to sterilize Mason jars, this is one of the quickest.
My First Summer of Pickling (and Why I’ll Never Skip Sterilization Again)
I still remember my first real attempt at preserving food—it was the summer after I moved into my tiny farmhouse. The garden was overflowing with cucumbers, and I figured, why not try pickling? Like many beginners, I found a simple recipe online, grabbed the vinegar, herbs, and spices… but completely overlooked how to sterilize Mason jars. It seemed like a minor detail at the time, something easy to skip. Spoiler alert: it wasn’t.
I didn’t think much of it. I rinsed them quickly and got to work. A week later? Mold. A whole batch ruined. I was heartbroken—not just because I wasted good produce, but because I’d underestimated the power of food preservation safety.
That mistake taught me something: how to sterilize Mason jars isn’t a “bonus tip.” It’s the foundation of every successful jar of jam, pickle, or sauce you’ll ever make. Whether you’re prepping jars for pickling, making pepper jelly, or storing bone broth, clean isn’t enough—sterile matters.
Since then, I’ve tried all the jar disinfecting methods out there—boiling, oven baking, even steam. Each one has its place, but now I know exactly which to use based on the job. And honestly? It’s kind of empowering. Mastering how to sterilize Mason jars gave me more confidence in the kitchen than any recipe ever has.
If you’re new to home canning, here’s my advice: Don’t just clean your jars—learn the best way to clean Mason jars for long-term use. Trust the process, and don’t rush it. Once you get into the rhythm, those little jars lined up on your shelf will feel like trophies—evidence that you did it right.
So now, every season when I harvest cucumbers or tomatoes, I don’t even think twice. Sterilization is step one. Because once you understand how to sterilize Mason jars, you stop thinking of it as a chore… and start seeing it as the real secret to preserving food you’re proud to share.

